How to Resize Images Without Losing Quality
A practical guide to image dimensions, aspect ratio, file formats, and sharper exports.
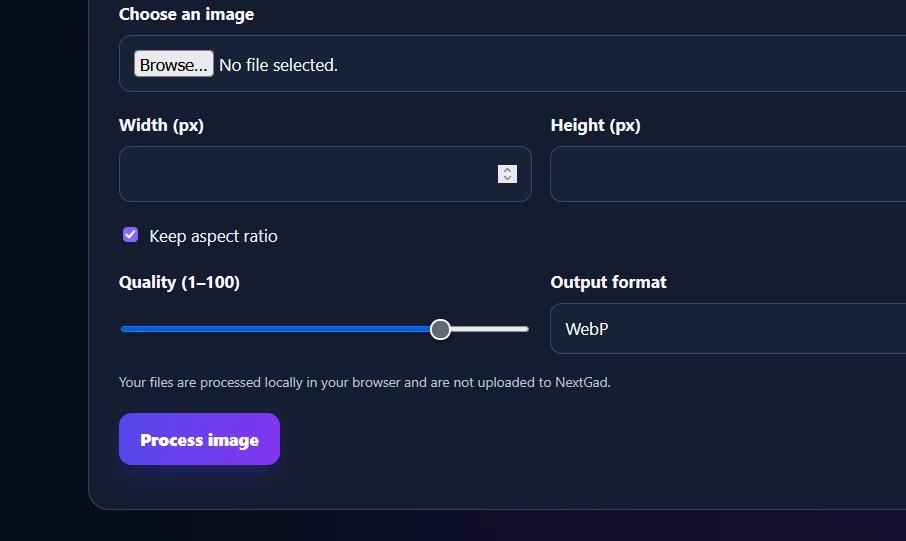
Start with the original image
Use the highest-resolution original available. Enlarging a tiny picture cannot recreate detail that was never captured. If possible, keep a backup of the original before resizing.
Choose the right dimensions
Decide where the image will appear first. For a website thumbnail, smaller pixel dimensions are often enough; for a large display, use larger dimensions. Width and height are measured in pixels.
Keep the aspect ratio
Preserving the original width-to-height ratio prevents faces and objects from looking stretched. If you need a different shape, crop the image rather than forcing an unrelated width and height.
Select a suitable format
JPEG works well for photographs, PNG for graphics requiring transparency, and WebP often offers smaller files at comparable visual quality. Always check the actual result rather than assuming one format wins every time.
Preview before downloading
Look at fine text, edges and textures at normal viewing size. If the result looks soft, try exporting from the original at a higher resolution. Resize only once when possible.
Resize Your Images for Free
Resize JPG, PNG and WebP images to custom dimensions in your browser. No signup required.
Try Free Image Resizer →Explore more practical tips in the NextGad Blog.